
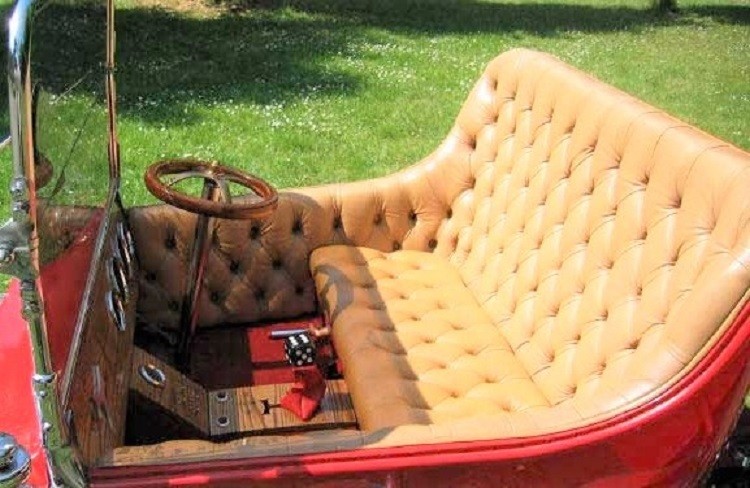
How you go about your T-Bucket interior fabrication can make all the difference in the world in terms of your hot rod’s overall appearance. In Chester Greenhalgh‘s “How to Build a T-Bucket” eBook we cover the simple basics of T-Bucket interior fabrication. But in Dave Melling‘s build he takes his T-Bucket interior fabrication to another level with an outstanding end result.

These photos show how the T-Bucket interior fabrication grows. The body is basically a fiberglass shell, but it has a considerable amount of plywood bonded into it for strength.
The exception to this rule was the edge along the top of the dashboard, so for 6 years I had to be careful not to lean on it.
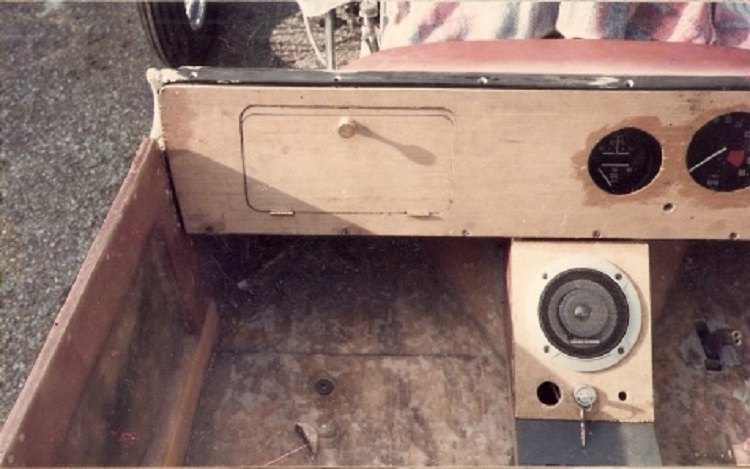
This photo shows the plywood dashboard in its initial stages. I decided to have a ‘glove compartment’ as it would be the only place to put anything (except for the pockets of my clothes!) You can also see the rough holes cut for the instruments. Because of the high driving position (or lack of footwells), the car’s instruments had to be mounted at an angle so that I could see them; hence they are not fixed to the dashboard itself.
One of the speakers, the ignition key and lighting switch is fitted to the centre console. The whole of the dashboard is to be decorated with different shades of wood veneer, then heavily varnished.
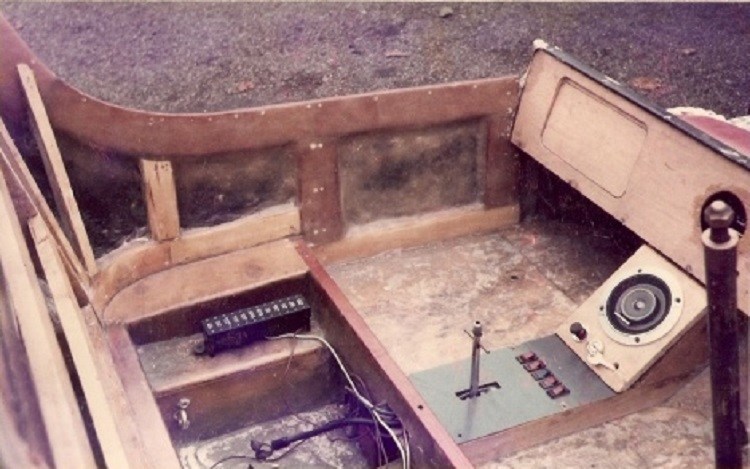
The above photo shows the rest of the centre console with the gear lever and a series of switches for the fuel pump, fog lights, etc. This row of switches would eventually have to go to make way for the other speaker.

The fuse box is situated under the seat where it will be fairly accessible. You can see the beginning of the wiring loom starting to emerge from the centre tunnel. This photo shows under the seat where the battery is kept next to the fusebox. On the other side, under the driver’s side are the handbrake and indicators. The raised bit in the middle is the tunnel through which the propshaft passes.
As we continue, you’ll see how Dave Melling constructs his own unique T-Bucket dashboard with some features you may want to consider in your own T-Bucket build.
TBucketPlans.com originated in 2005 as a personal blog extolling the virtues of T-Buckets. In 2009 I blogged about Chester Greenhalgh, the "how to" genius who wrote the legendary, out-of-print “How to Build a T-Bucket Roadster for Under $3000”. That led to a friendship with Chester and our partnership in marketing the updated eBook version of his T-Bucket building bible. The T-Bucket fire burns stronger and stronger.
- The Steve Scott Uncertain T – Resurrected! - January 24, 2024
- Uncertain T Exposed! - January 24, 2024
- Y-Block Ford T-Bucket: Ted Kramer’s Snoopy Inspires Me - February 11, 2023
Related Posts
- 10000
 This installment wraps up coverage of the Jaguar independent rear suspension in Dave Melling's T-Bucket project. The treatment has been extensive because the Jaguar independent rear suspension can be the most dramatic element you can include when building a T-Bucket hot rod. We hope that by following along with these…
 - 10000
 This is where the hard work on Dave Melling's Jag rear axle assembly is starting to pay off. After replacing the early S-type Jag rear axle assembly with the wider Mk 10 Jag rear axle assembly and chroming just about everything Dave now starts to put it back together. The…
 - 10000
 A typical question is, "why would you want to go to all the time, trouble and expense of putting in a Jag IRS when building a T-Bucket?" For one, the Jaguar independent rear suspension rides smoother and tracks the road much better than the conventional rear transverse leaf spring. But,…